Duo External Directory Synchronization
Last updated:
Overview
Organizations can import users, groups, and administrators into Duo with directory synchronization from these existing external directory services:
- Microsoft Active Directory domain (on-premises)
- OpenLDAP directory (on-premises)
- Microsoft Entra ID
- Google Workspace
- Okta
- Any SCIM-compliant directory
Duo regularly updates information for imported users and administrators to reflect the latest user status (when possible) and associated device information when available in the source directory. Deprovision synced accounts in Duo by disabling the external directory accounts or removing those users from the synced user or administrator groups.
Scheduled directory synchronization runs every 30 minutes for users and administrators. Run either type of full sync on-demand from the Duo Admin Panel. You can also run individual user or administrator syncs on-demand from the Admin Panel or programmatically via Admin API.
Inbound SCIM provisioning updates occur automatically based on changes in the source directory.
Active Directory Synchronization
Duo imports users and administrators via LDAP from Active Directory domains. When configuring AD sync, you'll need to install the Duo Authentication Proxy application on a server that can connect to your domain controller.
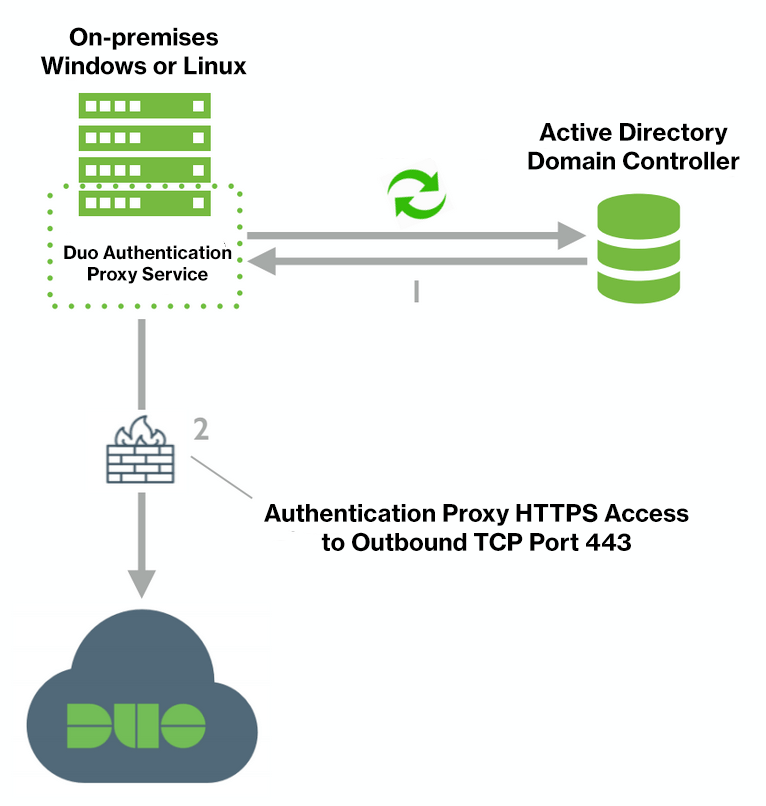
Learn more about Active Directory synchronization.
Entra ID Synchronization
Duo imports users and administrators directly from Entra ID, without any additional on-premises software installation.
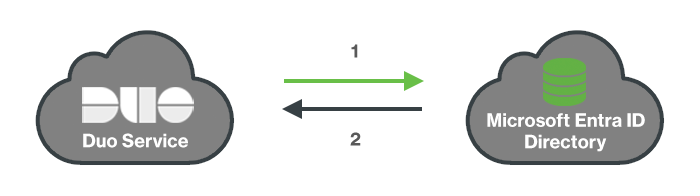
Learn more about Entra ID synchronization
Generic Inbound SCIM Synchronization
Duo imports users directly from any SCIM-compliant directory via inbound SCIM provisioning, without any additional on-premises software installation.
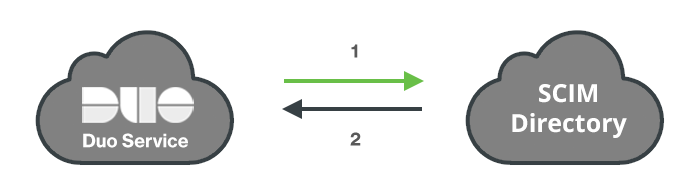
Learn more about Generic Inbound SCIM Synchronization.
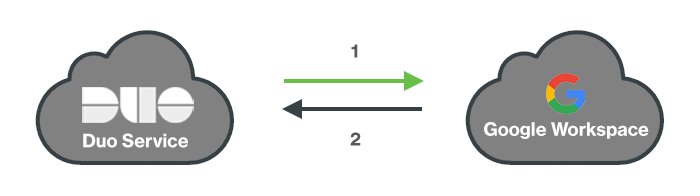
Google Synchronization
Duo imports users and administrators directly from Google, without any additional on-premises software installation.
Learn more about Google synchronization.
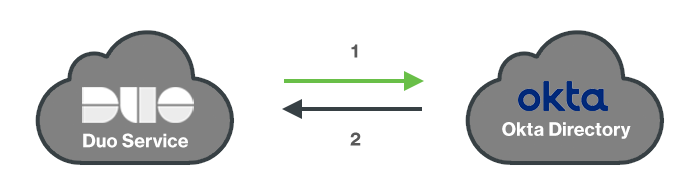
Okta Synchronization
Duo imports users directly from Okta via inbound SCIM provisioning, without any additional on-premises software installation.
Learn more about Okta provisioning.
OpenLDAP Synchronization
Duo imports users and administrators via LDAP from OpenLDAP directories. When configuring OpenLDAP sync, you'll need to install the Duo Authentication Proxy application on a server that can connect to your directory server.

Learn more about OpenLDAP synchronization.
Set Up User Sync
Role required: Owner, Administrator, or User Manager. Custom roles must include the "External directory configuration" permission set to "All" and the "Run user directory syncs" permission set to "Individual users" (to run directory sync for specific users) or "All user syncs" (to run full directory syncs and syncs for specific users) accordingly.
To set up a user directory sync for the first time:
-
Log in to the Duo Admin Panel.
-
Navigate to Users → External Directories or click the External Directories link on the "Users" page.
-
Click the Add external directory button and select the needed directory from the Directory Syncs list.

You can also select the needed external directory from the Directory Syncs and SCIM Integrations list by clicking the Add External Directory button in the top-right corner.
-
To create or choose a connection for user sync and complete the set up, refer to the corresponding pages:
Set Up Admin Sync
Role required: Owner.
To set up an admin directory sync for the first time:
-
Log in to the Duo Admin Panel.
-
Navigate to Users in the left side bar and then click Administrators → Admin Directory Sync on the submenu.
-
Click the Add External Directory button and select the needed directory from the Directory Syncs list.
-
To create or choose a connection for admin sync and complete the set up, refer to the corresponding pages:
Set Up SCIM Integration
Role required: Owner, Administrator, or User Manager.
To set up a SCIM Integration for the first time:
-
Log in to the Duo Admin Panel.
-
Navigate to Users → External Directories or click the External Directories link on the "Users" page.
-
On the SCIM Integrations tab, click the Add SCIM Integration button and select Okta or Generic Inbound.
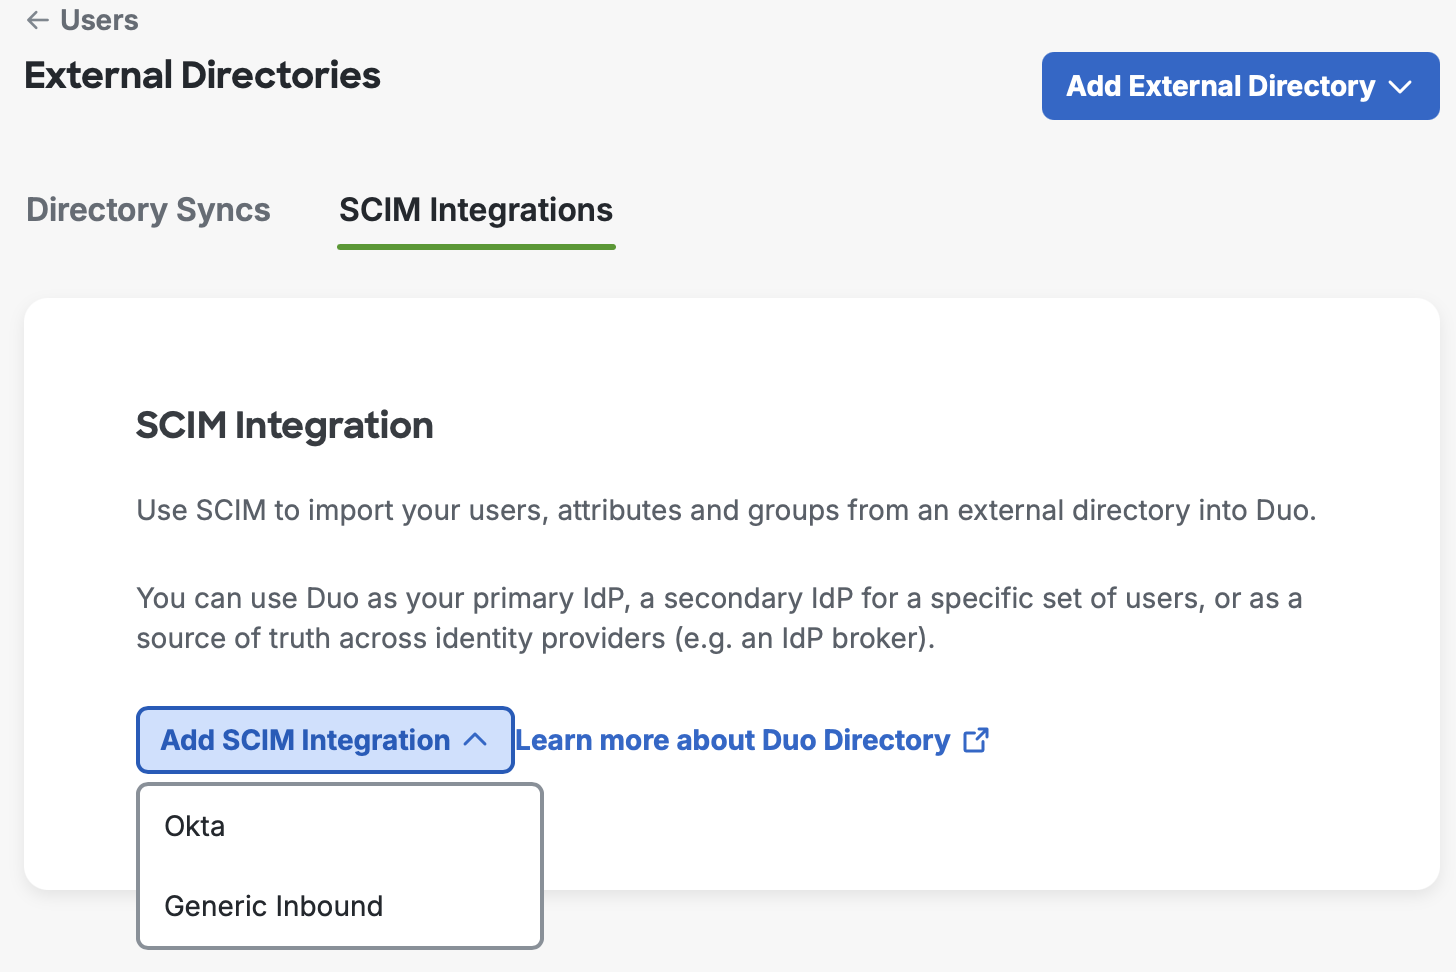
You can also select the needed SCIM integration by clicking the Add External Directory button in the top-right corner.
-
To complete the set up, refer to the corresponding pages:
Manage User Sync
On the "External Directories" page, you can view and manage all configured directory syncs and SCIM integrations.
To access your configured directory syncs:
-
Log in to the Duo Admin Panel. Navigate to Users → External Directories or click the External Directories link on the "Users" page.
-
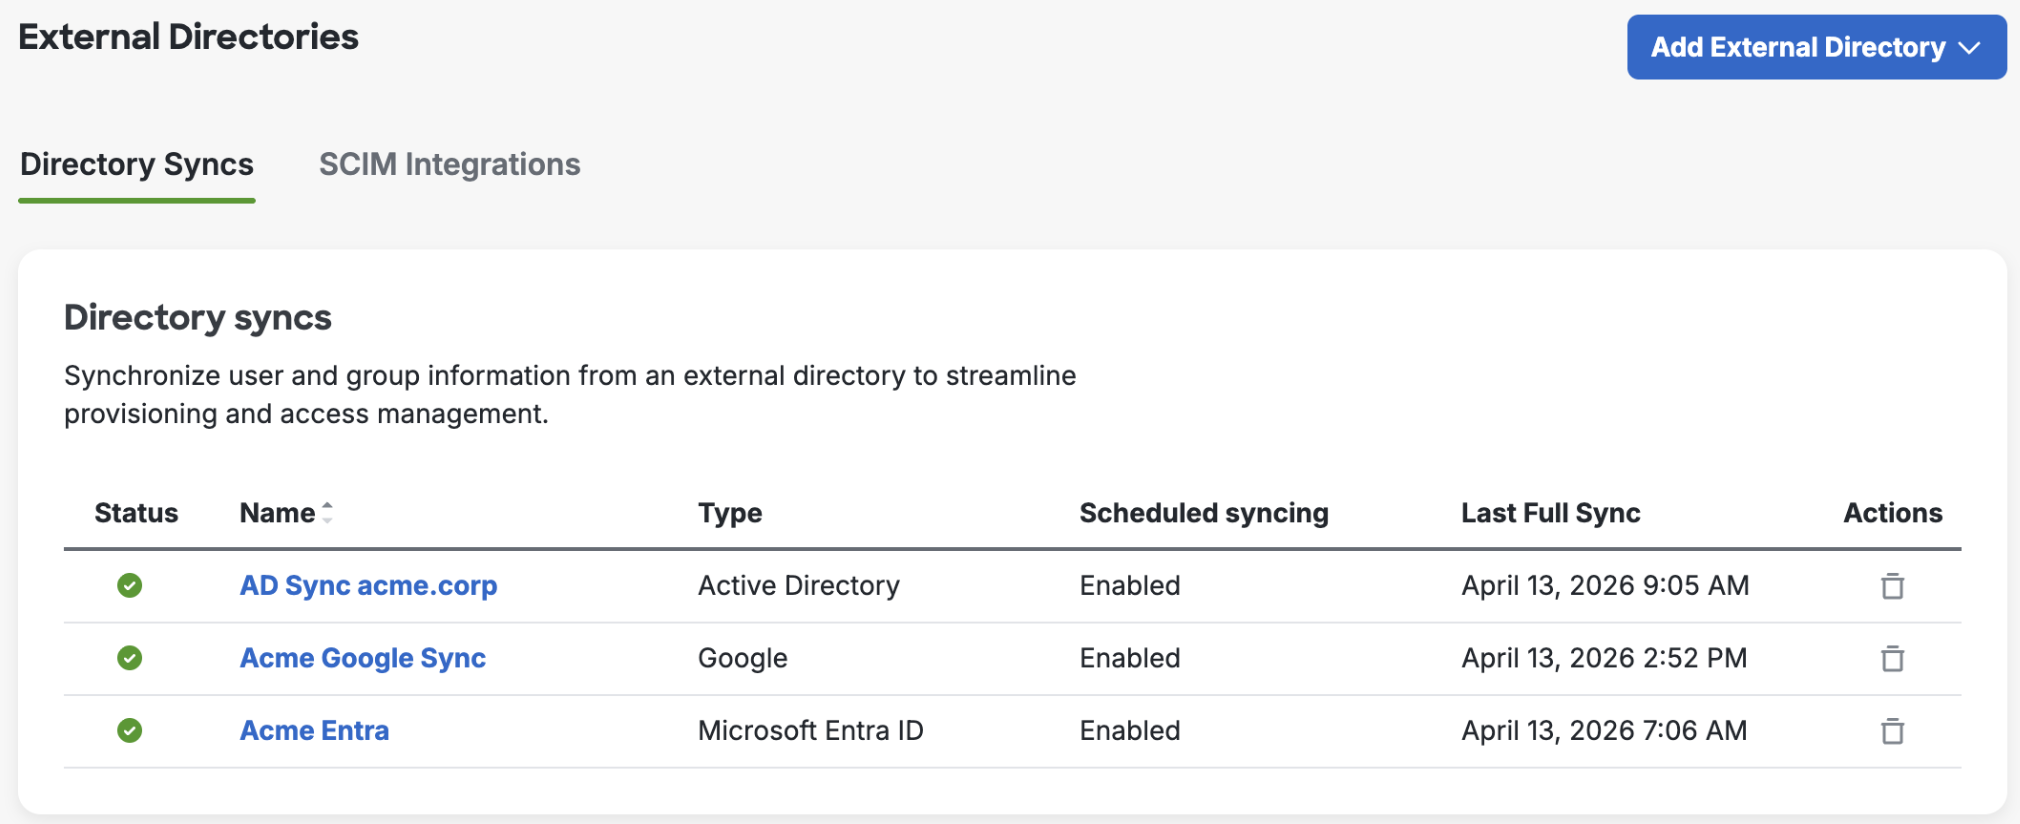
The "Directory Syncs" tab lists all your configured syncs and connections. In the "Directory syncs" section, you can view sync type, scheduled status, and the time a full sync was last run. Select the sync you want to manage by clicking on its name in the list. Perform your management actions from the sync's properties page.
-
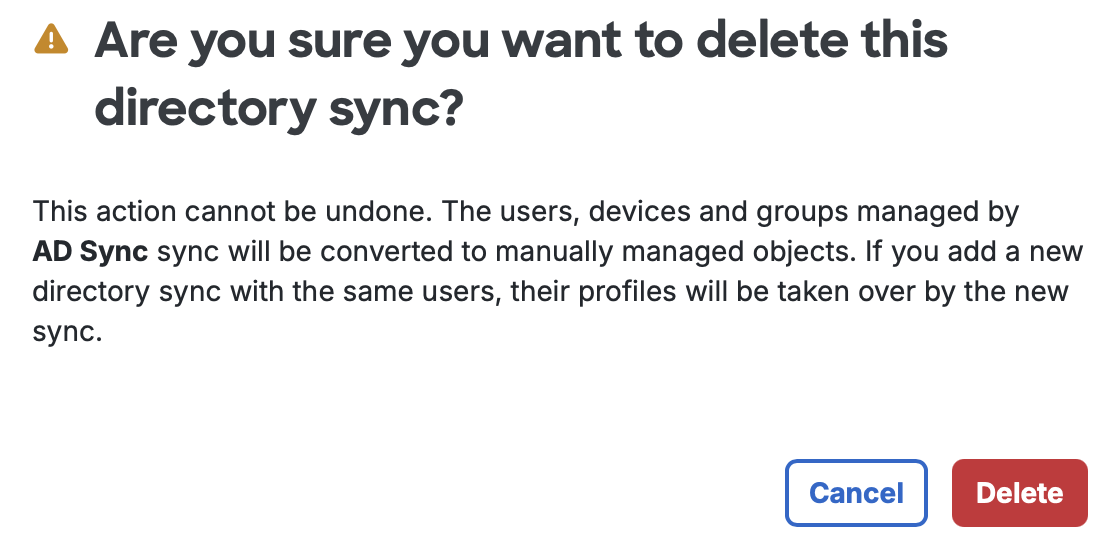
In the "Directory Syncs" section, you can also delete a directory sync by clicking the trash icon next to the directory. Confirm the warning to complete the deletion.
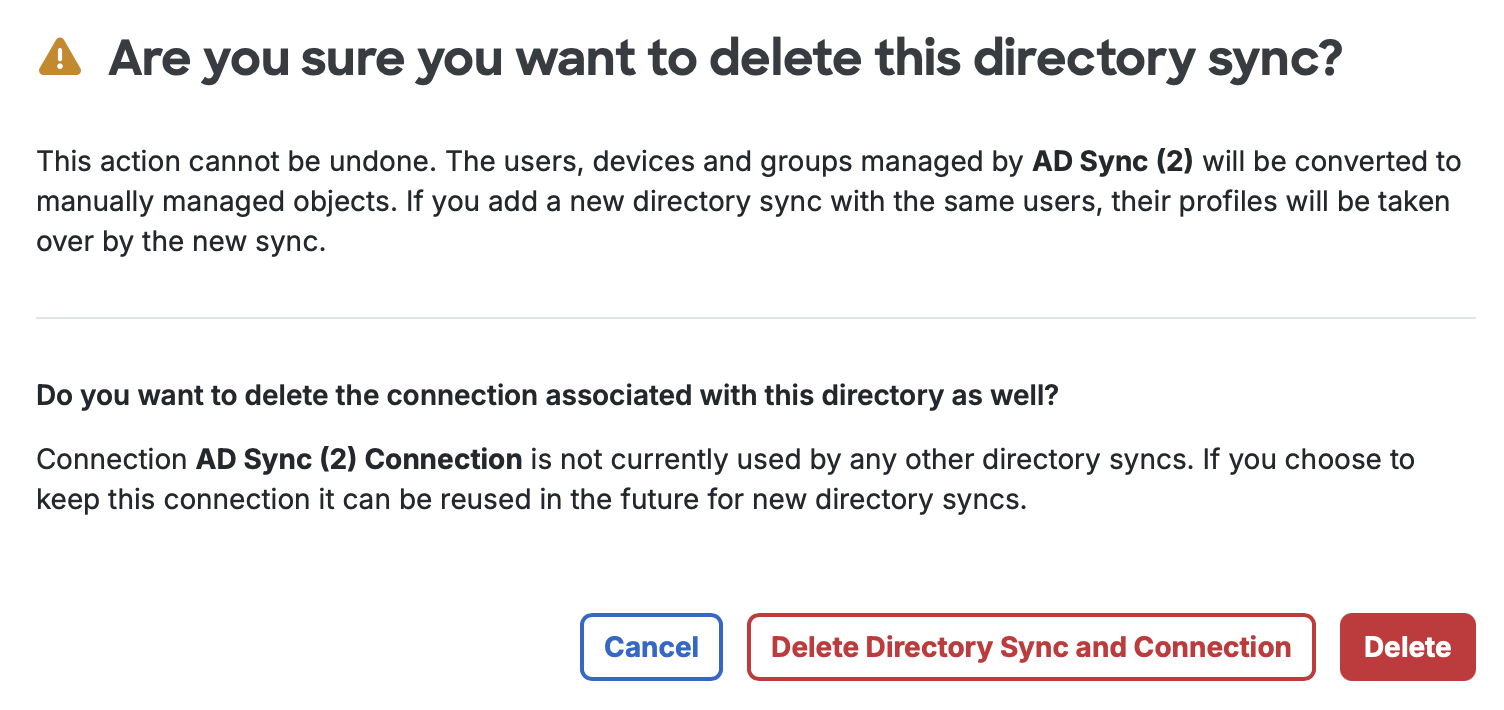
When you delete the last or only directory sync using the connection, you can optionally delete the connection at the same time by clicking Delete Directory Sync and Connection. If you want to keep that connection that can be reused for new directory syncs, click Delete.
-
You can also view your directory connections that sync external directories with Duo.
-
In the "On-Premises Connections" section, you can view on-premises connections, their statuses, base DN of the directory location, sync type, and directory servers.
To delete an on-premises connection, click the trash icon next to the connection. Confirm the warning to complete the deletion. The trash icon is disabled if the connection is associated with any other directory sync.

-
In the "Cloud Connections" section, you can see connected cloud directory services, statuses of connections, and the admins who authorized each connection. To reauthorize a connection, click the Reauthorize link.
Note that cloud connections have no additional details to view.

-
Manage Admin Sync
Role required: Owner.
On the "Admin Directory Sync" page, you can view and manage all configured directory syncs such as running manual admin syncs, updating sync settings, and performing other sync management operations.
To access your configured admin sync:
-
Log in to the Duo Admin Panel.
-
Navigate to Users in the left side bar and then click Administrators → Admin Directory Sync on the submenu.
-
The "Directory Syncs" tab lists all your configured admin syncs and shows their type, automatic sync status, and the time a full sync was last run. The "Connections" tab lists connected cloud directory services, their types, servers, and the number of syncs using them. Select the sync you want to manage by clicking on its name in the list.
On the "Connections" tab, you can delete connections that are not in use. Note that connections may be shared between user and admin directory syncs.
-
Perform your management actions from the admin sync's properties page.
-
To delete an admin sync, click the "Delete Directory Sync" link at the top-right of that sync's details page and confirm that you want to delete that directory. If this is the last or only directory sync using the associated connection and you don't want to delete that connection, be sure to uncheck the Delete connection box before clicking the Delete button (option not shown if the connection is used by another sync).
Manage SCIM Integrations
To access your configured SCIM integrations:
-
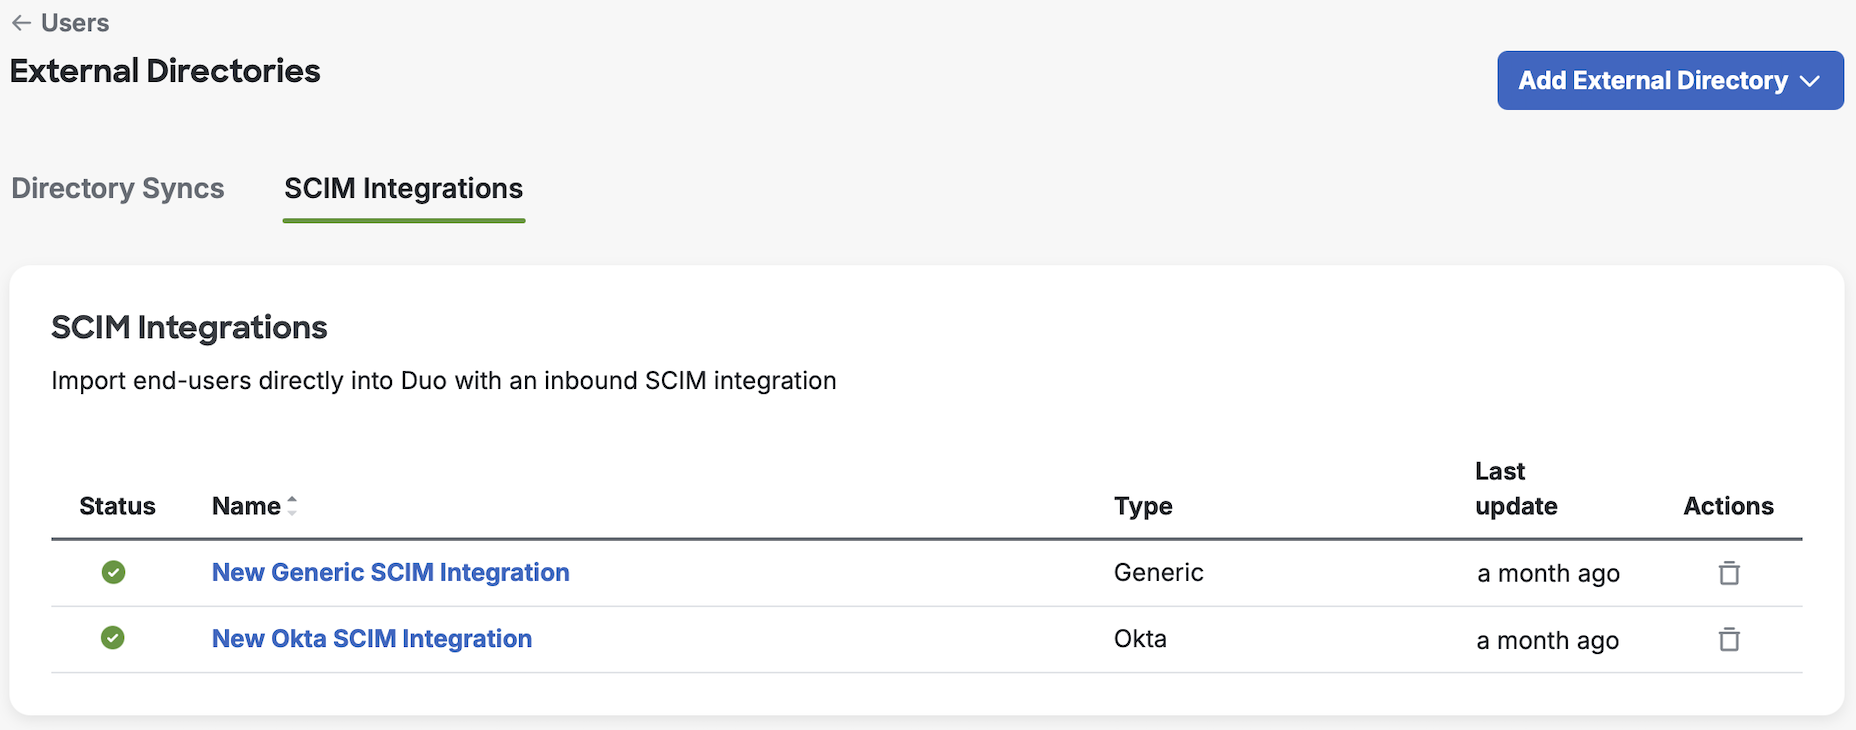
Log in to the Duo Admin Panel. Navigate to Users → External Directories or click the External Directories link on the "Users" page. Click the SCIM Integrations tab.
-
The "SCIM Integrations" tab lists all your inbound SCIM external directory connections and shows their connection status, type, and last update time. Select the integration you want to manage by clicking its name in the list. Perform your management actions from the sync's properties page.
-
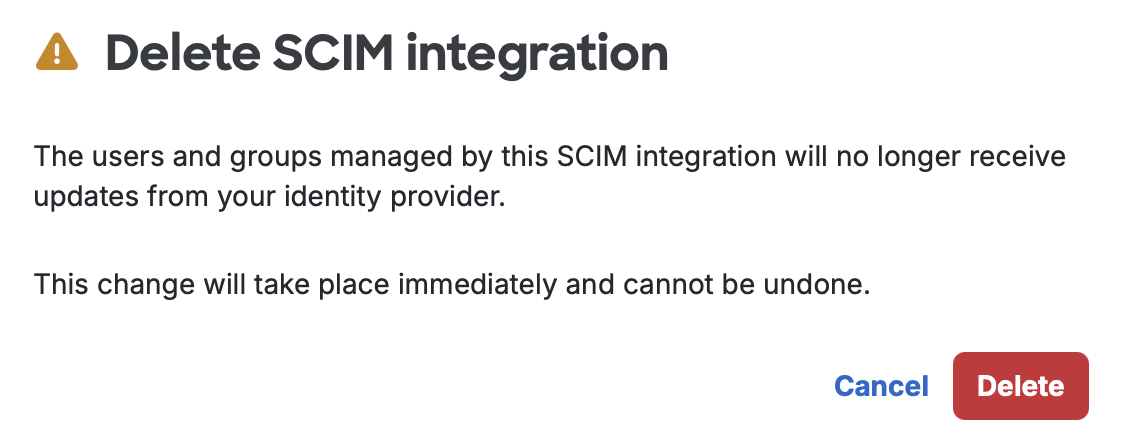
To delete a SCIM Integration, click the trash icon next to the directory. Confirm the warning to complete the deletion.